#003 - Ready, Steady, Signal!
I wanted to share my first Arduino LED project that I had worked on last week. I left out the details last week, as I didn't want to write a long reflection.
Last week, I created two apps that make use of LED lighting using the Arduino U3 board that I received during the Christmas holidays. I own the official Arduino board, as I want to support the Arduino Foundation for their open source development and documentation.
I have yet to tackle the official Arduino Projects Book, because I am cross-learning programming with electronics - alongside other technological goodness. You will learn of my enthusiasm as time goes by. Nonetheless, I had a strange epiphany as I wanted to challenge myself to create something practical without running ahead of myself, even though I am still a coding newbie. As a result, I decided to recreate the British traffic lights inspired by The Highway Code.
I never knew I would be so giddy plugging coloured LED's and resistors to my plastic breadboard, which I then linked jumper wires from the breadboard to the Arduino U3.
I recalled from my Christmas reading on electronics and circuitry that a typical LED has two wire legs. The longer leg is the 'anode' which connects to the power (+), whilst the 'cathode' is the shorter leg and it connects to the (-) circuitry. Some LED's have a subtle flat side on the plastic housing. This denotes the leg adjacent to the flat area is the negative (cathode) lead.
I also used 100Ω (Ohms) resistors for each LED, which is used to limit the power in the circuit line from the power source to the LED. Without the resistor to limit the electrical current, you are feeding the LED with a high voltage from the power source and it will likely damage the LED. Not a good idea if you still want a roof over your head.
And yes, there is a mathematical equation behind calculating the value of Ohms based on the Voltage and Current.
V = IR (therefore, to calculate R = V / I)
Where,
V = Voltage in volts
I = Current in amps
R = Resistance in ohms
Because I am not using your typical 9V battery on the Arduino board, but a USB cable connecting from the Arduino U3 to my PC, I followed a tutorial that suggested using the 100Ω (Ohms) resistor for each LED. As you may have gathered, my hair didn't static in volume like Professor Albert Einstein.
Clear as mud? Yeah, me too - which is why I find this stuff so fascinating. I think I'm taking my interest in technology to a whole new level...
I installed the Arduino IDE from the Microsoft Store within Windows 10 - as it automatically updates itself to the latest version. Of course, you can manually download the Arduino IDE file for Windows / Mac / Linux from the official Arduino website at: https://www.arduino.cc/en/main/software
It dawned on me that the Arduino uses C programming, which has been a very long time since I last used the language, which for me, was at university - some 17 years ago!
I used the Arduino Language Reference guide (https://www.arduino.cc/reference/en/) so I could better understand the nature and syntax of the variables and adopted a sample code to learn how to control the LED lights. I rehashed the code to be more intuitive and programmed the sequence of the 4-stage light cycles based on a YouTube video of some bloke filming a set of traffic lights in the UK. At present, the program loops across the 4 light cycles - much like a real-life set of British traffic lights.
For someone who commutes to work, I didn't know the red light typically sits around for 14 seconds, whilst the green light glows for around 6 seconds. The red and amber make up 2 seconds, which is the same with the amber-only light cycle. The first and third light cycles (red and green) will differ throughout the day, which will depend on the flow of traffic.
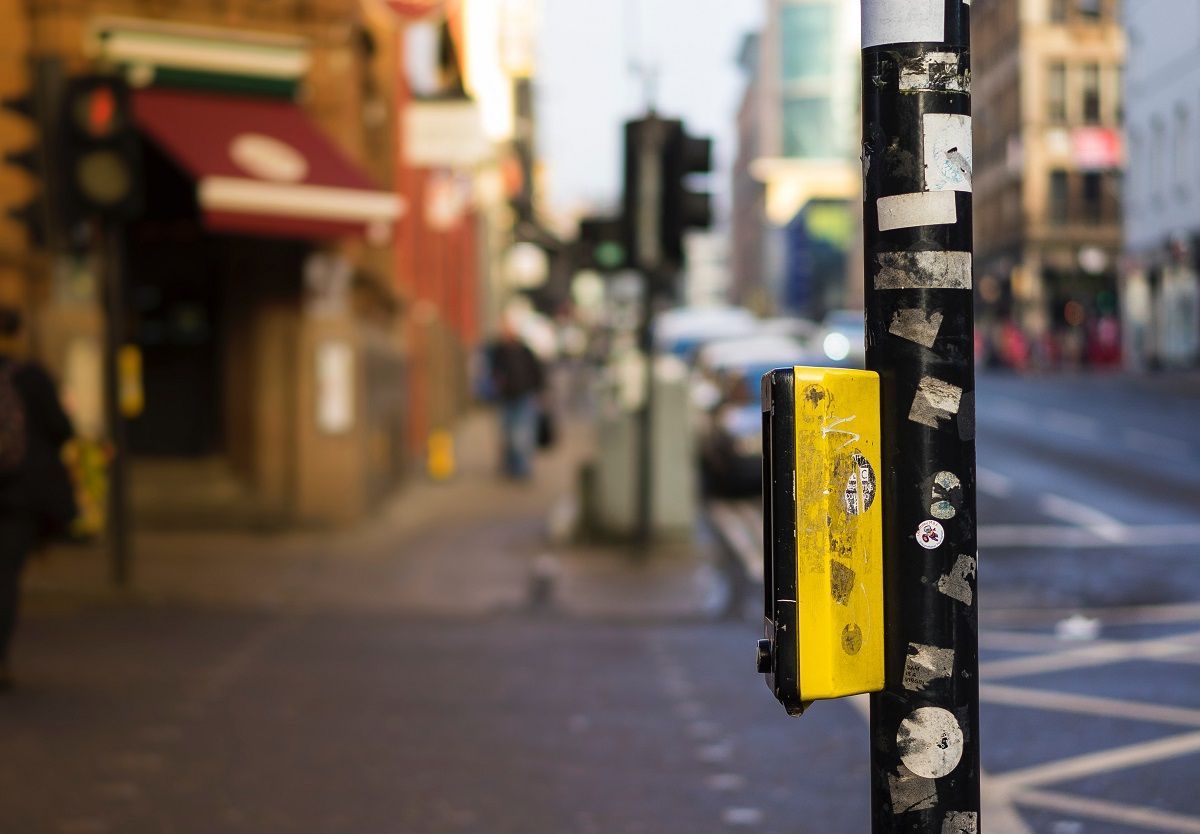
Now that I have a prototype working without bugs, I am keen to research and learn whether a push button mechanism will quickly usher the traffic light cycle to glow green - either for longer, or whether the sequential light cycles are shorter. I know in some streets, the push button is a dummy feature, as the city square are all synced to start and stop traffic after a set period of time - so pushing the traffic light button makes no difference. At other crossings, the initial red light sequence appear to be shortened.
It is something I haven't yet researched, but either way, I am keen to learn of any defining patterns. It would be cool to learn how to code this feature on the Arduino board. And if I'm really adventurous I could program traffic lights based in other countries - like America, Canada or even Hong Kong. I would like to believe there is a distinction between nations.
~Richard